I
love ambigrams. LOVE. So when I saw
this doormat by Sam & Jude, I just knew that I had to have it for the apartment. The price got me a little squeamish though, and it looked simple enough to do myself.
WHAT YOU WILL NEED:
- A doormat with enough space for painting the words
- Paint
- Paintbrushes
- A stencil of the ambigram, either via the printer, drawing it out yourself, or with one of those nifty stencil makers
- An exacto knife (careful!)
- Tape
- Contact paper (optional)
TUTORIAL:
I scoured the great interwebs for a few hours over a few days, trying to find a discount doormat that didn't already have writing on it. It wasn't until Spencer (the boyfriend) and I were at Target that we stumbled across this little beauty for only $8:
Score! Just a plain doormat with a nice center space for me to paint in. Perfect.
First I unrolled my new treasure and measured the space I had to work with: inside the border.
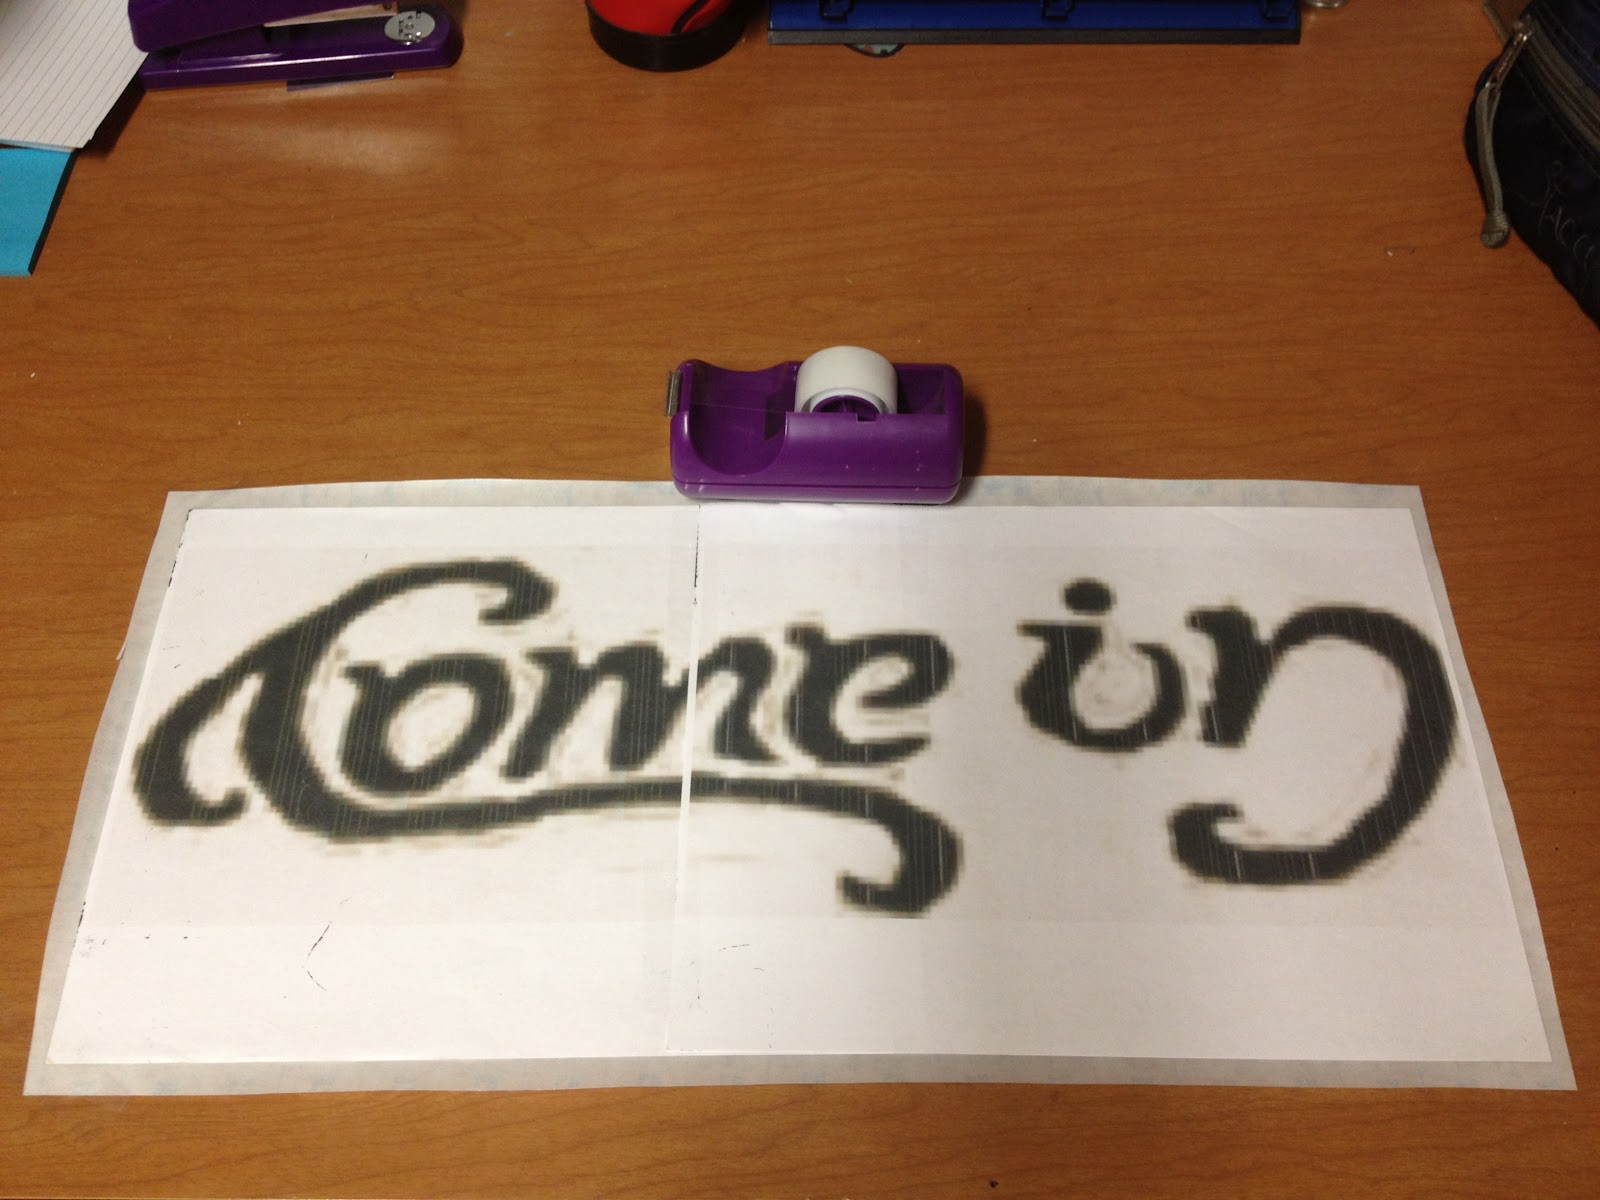
This particular mat was 24 inches wide and 13 inches tall. Not so bad. Next, armed with my measurements, I uploaded the original mat picture into Photoshop to make my stencil. You can make your stencil any way you feel most comfortable, but the easiest way for me was to "erase" around the ambigram then correct the camera distortion, leaving me with this:
It doesn't have to be perfect, you can always fix it with the paint! Next, still making the stencil, I put this edited picture onto a blank PowerPoint (I do
everything in PowerPoint) and, keeping the proportions the same, played with the size of my words. Once I decided on the size, I printed off the slides, making sure that my text took up as much of the page as possible. I then overlapped the two pages, making one cohesive ambigram on one large sheet of paper.
Now the original plan was to cut this into contact paper and then place the contact paper on the mat like a giant sticker, making it easier to paint. I still think this would be a great idea...but I accidentally cut into the wrong side of the contact paper, making it a mirror image. Oops! Anywho, this was me measuring out the sheet of contact paper.
And this was after I trimmed the contact paper down and taped the whole shebang down to my desk. If your going to use the contact paper, be sure to have your paper taped onto the paper-y side of the contact, NOT the plastic-y side!
Next, use an exacto knife to carefully cut around your letters, leaving just the negative space.
Then, place your stencil on your mat! I used a laundry basket to hold the mat flat/still, and (because of my goofing the contact paper) taped down all the edges of my paper stencil. Use rolled pieces of tape to get those inner edges! They are important!
Next, I took my black regular acrylic paint and kind-of stippled along the inner edges of the stencil, trying hard not to let my brush get under the paper. I used a small, loose brush for this.
I tried a stiffer brush in the beginning but it just wasn't getting enough paint on the mat. Now there might be a better paint to do this with (if you know of one, let me know!), but I think acrylic will do fine. I'll be sure to post an update with how it's holding up once we start using it. After I got all the edges outlined, I
carefully peeled up my stencil. I suppose to avoid my slow, nervous, peeling you could just let the paint dry before pulling it up, but I was just to anxious to see if it had worked!
And it had! Woo! Nice, crisp outline, too. Not too bad! I almost left it without filling in the center: I thought it looked...loved. But from far away it just looked unfinished, so I went back in with the stiffer brush and just colored it all in.
I think it turned out beautiful if I do say so myself! I can't wait for it to dry and start to use it. Let me know what ya'll think!
-Stacey :)


No comments:
Post a Comment